Step 1 — The board
Deutsche Fassung · Translated from the German original.
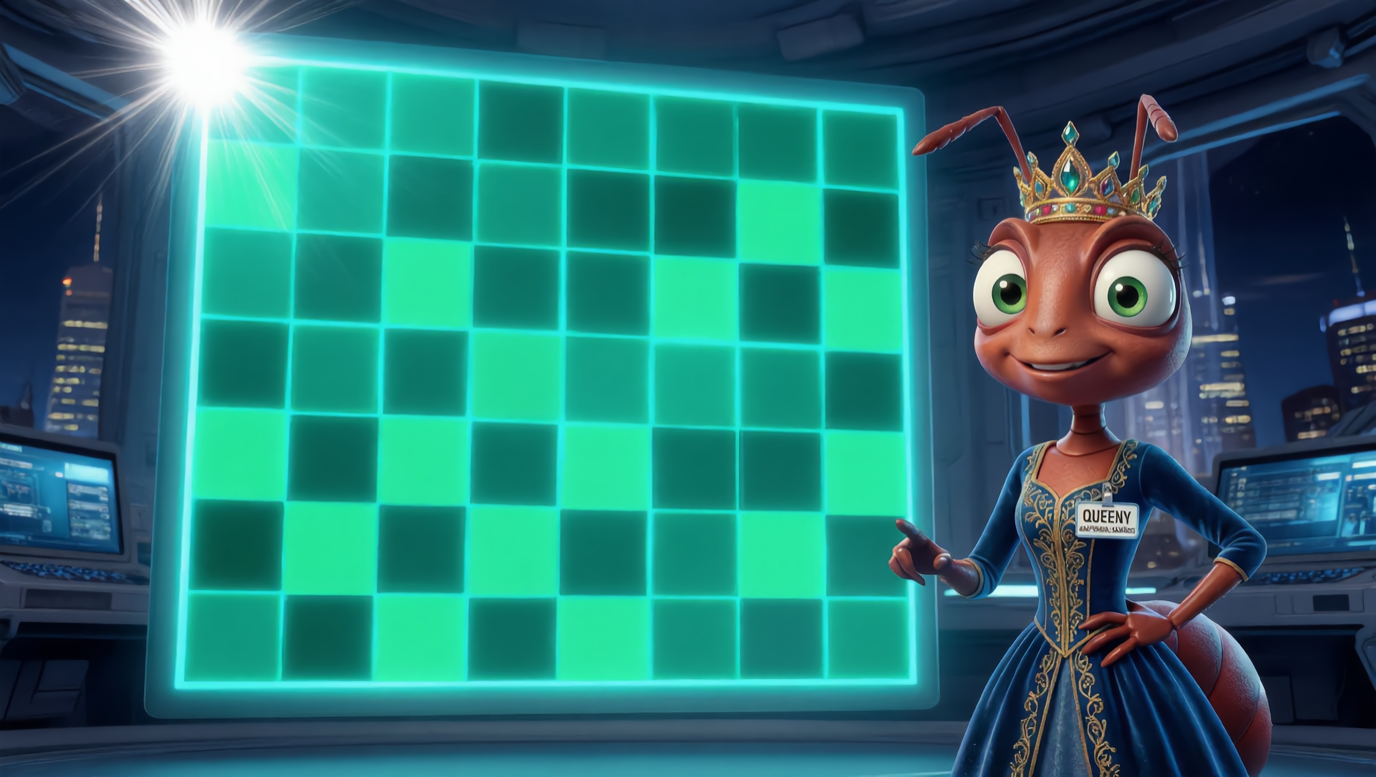
Goal:
- A page in the browser showing a game board.
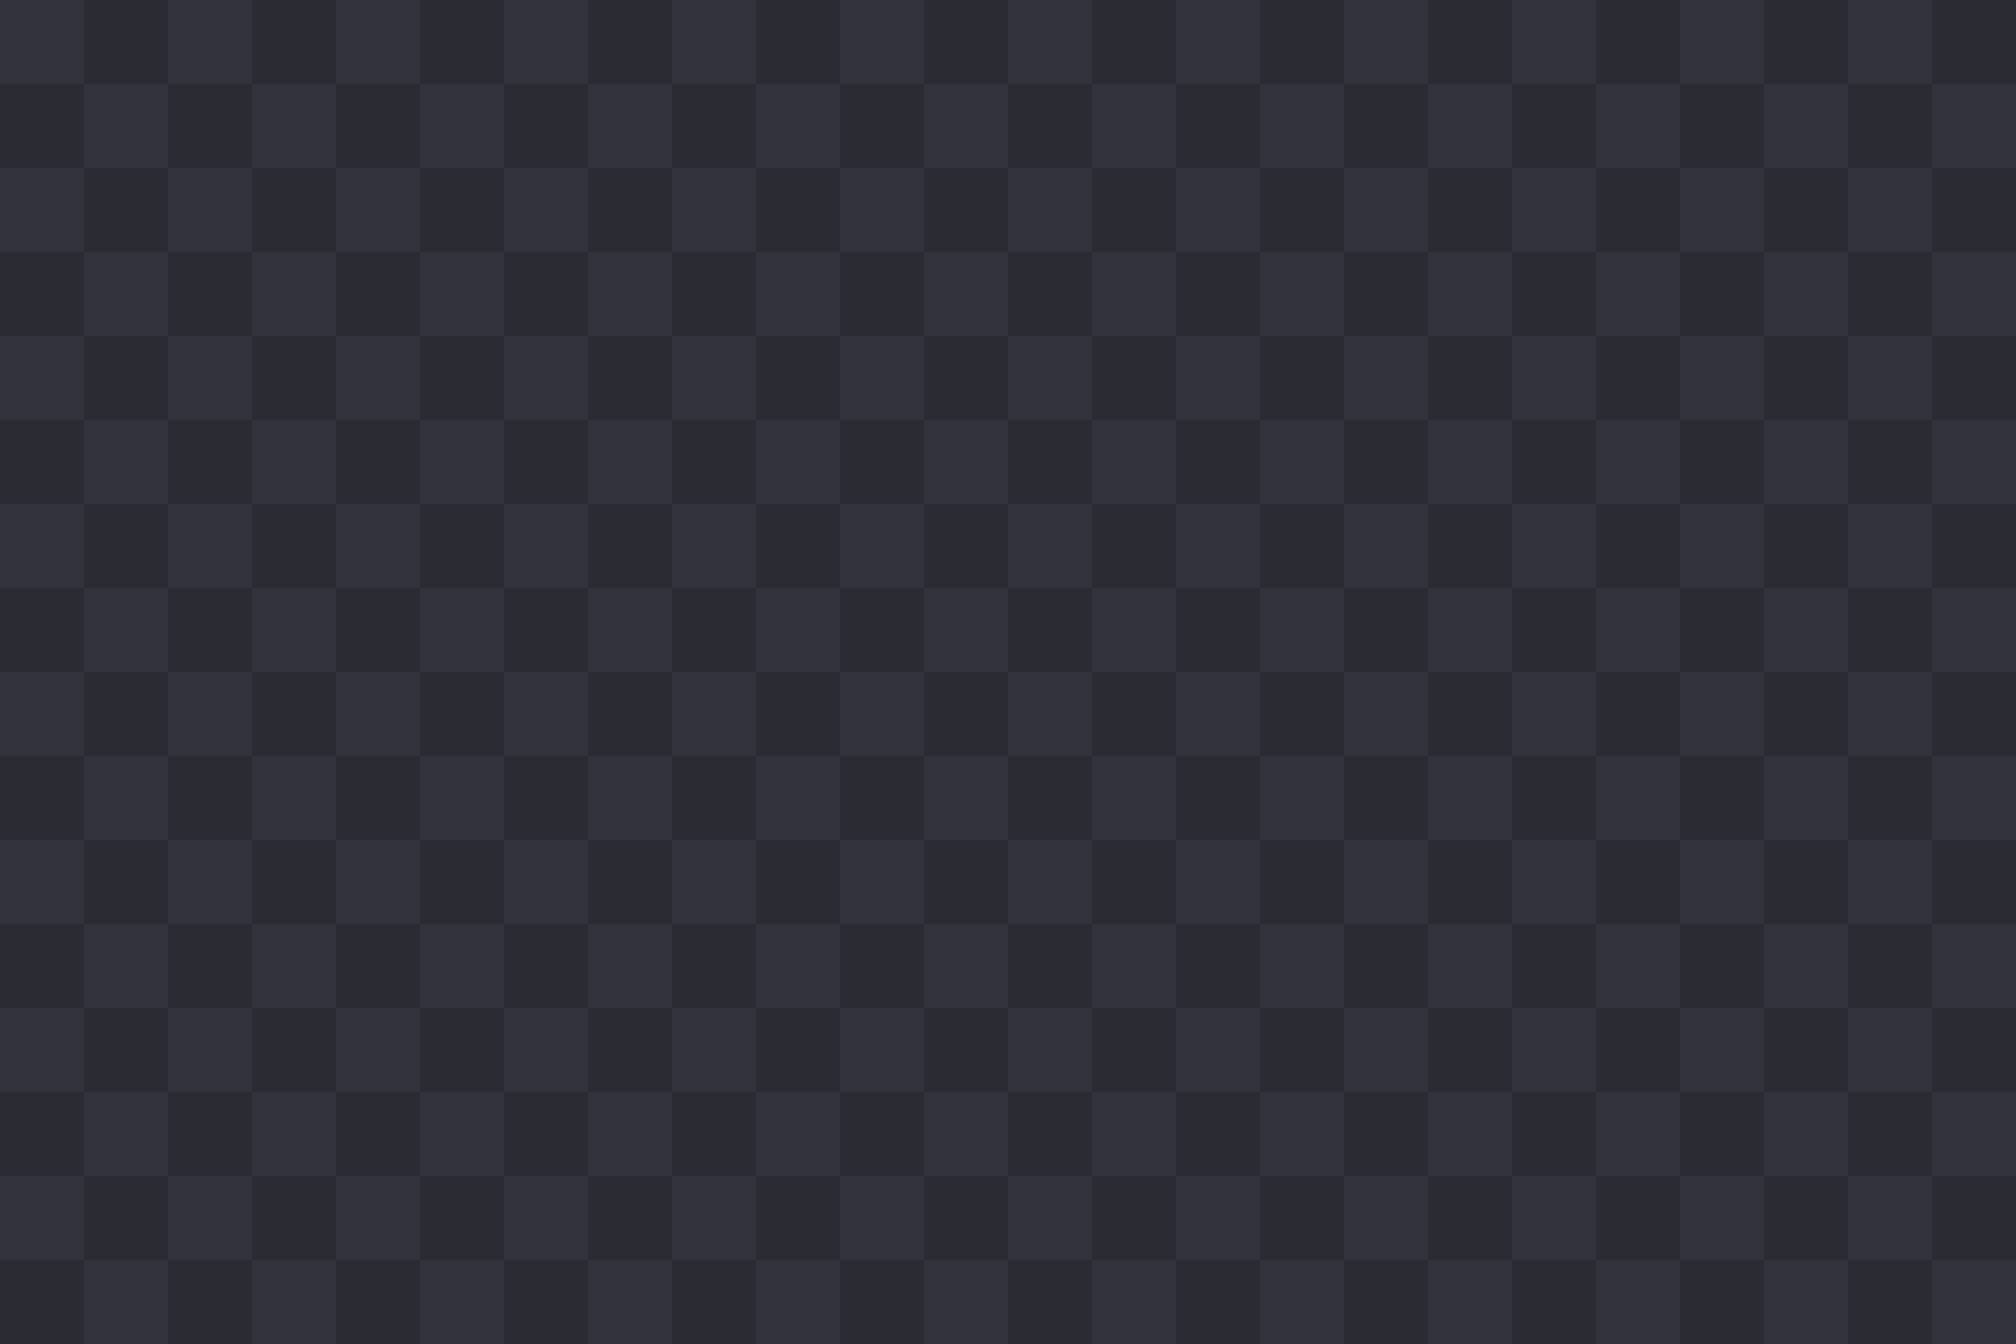
- A grid, 24 squares wide and 16 high. Nothing else.
The first board
Creating a new project
The free tool uv makes working on Python projects easier.
You will find it at docs.astral.sh/uv; it installs with one line:
curl -LsSf https://astral.sh/uv/install.sh | sh
mkdir python-streamlit-jev-ant
cd python-streamlit-jev-ant
uv init --bare --name jev-ants --python 3.12
uv add streamlit typesafe-sdk python-dotenv
-
uv init --barecreates nothing but apyproject.tomldescribing the project. -
uv addadds the three Python packages used here and writesuv.lockwith their exact versions.
streamlit lets you build browser interfaces in Python.
typesafe-sdk is the library that connects to the decision model TypeSafe Jev.
python-dotenv reads the API key for the decision model from a file, so that
it does not sit in the program itself.
The first version
First create the file app.py, which will later hold the complete game.
"""Jev Ants — an ant colony that asks TypeSafe Jev what to do next.

Step 1: the board. A grid and nothing else, so that the one thing this step is
about — getting a picture on the page at all — has nothing to hide behind.

    uv run streamlit run app.py
"""

import streamlit as st

COLUMNS = 24
ROWS = 16
CELL = 28

DARK = "#2b2b33"
LIGHT = "#33333d"

st.set_page_config(page_title="Jev Ants", layout="wide")


def board() -> str:
    width = COLUMNS * CELL
    height = ROWS * CELL

    return f"""
<svg width="{width}" height="{height}" viewBox="0 0 {width} {height}"
     xmlns="http://www.w3.org/2000/svg" role="img" aria-label="The board">
  <defs>
    <pattern id="chequer" width="{2 * CELL}" height="{2 * CELL}"
             patternUnits="userSpaceOnUse">
      <rect width="{2 * CELL}" height="{2 * CELL}" fill="{DARK}"/>
      <rect width="{CELL}" height="{CELL}" fill="{LIGHT}"/>
      <rect x="{CELL}" y="{CELL}" width="{CELL}" height="{CELL}" fill="{LIGHT}"/>
    </pattern>
  </defs>
  <rect width="{width}" height="{height}" fill="url(#chequer)"/>
</svg>
"""


st.title("Jev Ants")
st.caption(f"Step 1 — the board, {COLUMNS} by {ROWS}. Nothing lives on it yet.")
st.image(board())
Start the Python program with the tool uv:
uv run streamlit run app.py
The browser opens at http://localhost:8501 and shows the board.
Why SVG
There are all sorts of techniques for creating and moving graphical elements in the browser. In this program the board is made of squares, and a few figures will join it later.
That is exactly what the graphics description language SVG (Scalable Vector Graphics) is good at: drawing pictures in the browser out of lines, shapes and text.
SVG is part of HTML — really structured text that describes the picture.
So there is no need for extra JavaScript drawing libraries or image files the program would first have to load at start-up.
The function board() creates the string that describes the board in SVG
format and returns it — nothing more is needed.
Why a pattern and not a loop
The obvious way to build the board would be a double loop over all 24 × 16
squares, writing a separate rectangle (an SVG <rect>) for each one.
Instead the program uses a <pattern> element: two squares are described once, and
the browser repeats them across the whole area.
Tip: st.image(), not st.html(), for drawing in Streamlit
To put out a string containing SVG from Python with the Streamlit module,
st.html() would be the obvious choice —
SVG is part of HTML, after all. The call works and raises no error, but
nothing shows up on the page.
The reason: Streamlit sends the string through a filter that lets HTML through and removes SVG. What is left is an empty block. No message, no entry in the browser console, nothing.
The right call is st.image(). It takes SVG directly as a string and is meant
for exactly this.
Dark mode
A black board on a white background does not look right.
Two lines in .streamlit/config.toml, Streamlit's configuration file, fix
that:
[theme]
base = "dark"
This file is only read at start-up — so restart Streamlit after changing it.
base = "dark" switches the display to dark mode.
Coordinates: y points down
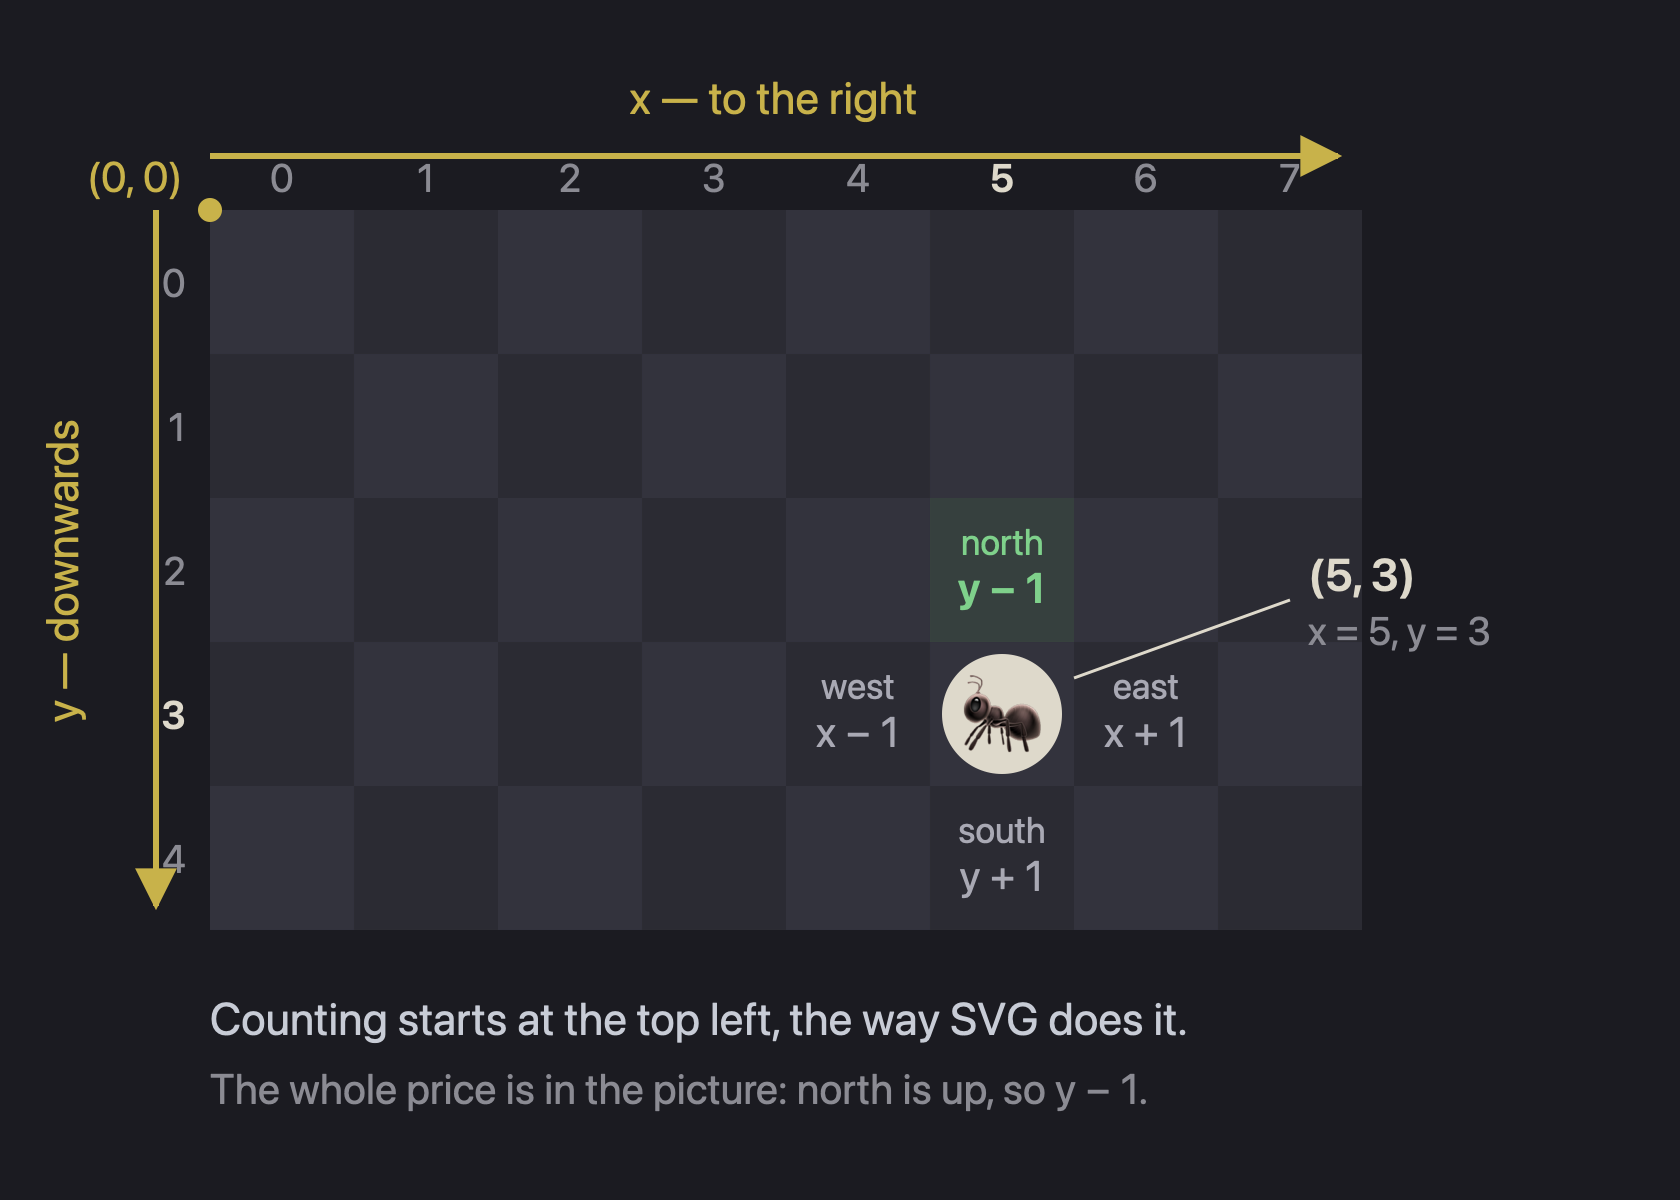
One decision that stays with you for the rest of the tutorial: positions are counted from the top left, x to the right, y downwards. That is exactly how SVG works.
Try it out
- The board is there, a dark chequer, 672 × 448 pixels.
- Change
CELLto 40 and reload — Streamlit notices the change by itself. - Swap
st.imageforst.htmlas an experiment and watch how it vanishes without a trace. Then change it back.
This tutorial was created by Gerhard Völkl using Claude Code (Anthropic). It is meant to help you learn more about what happens when ants ask a decision model. Suggestions for improvement are welcome at gkvoelkl@nelson-games.de.